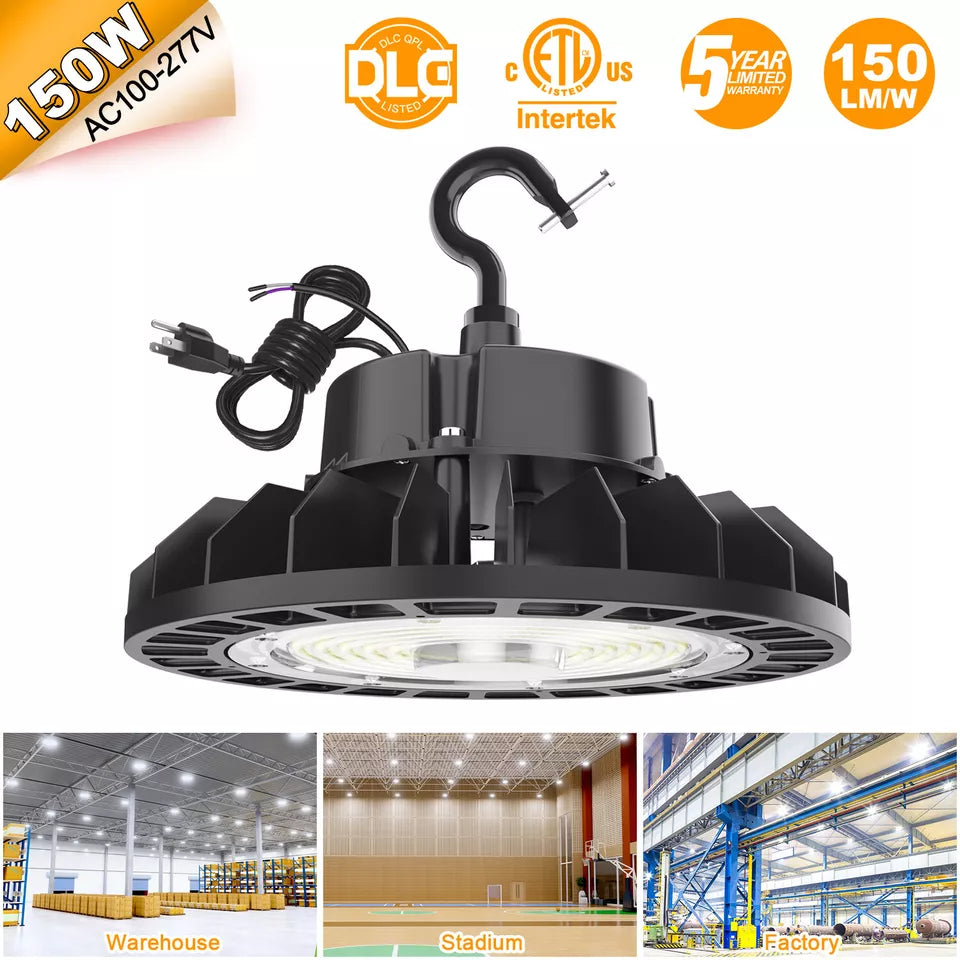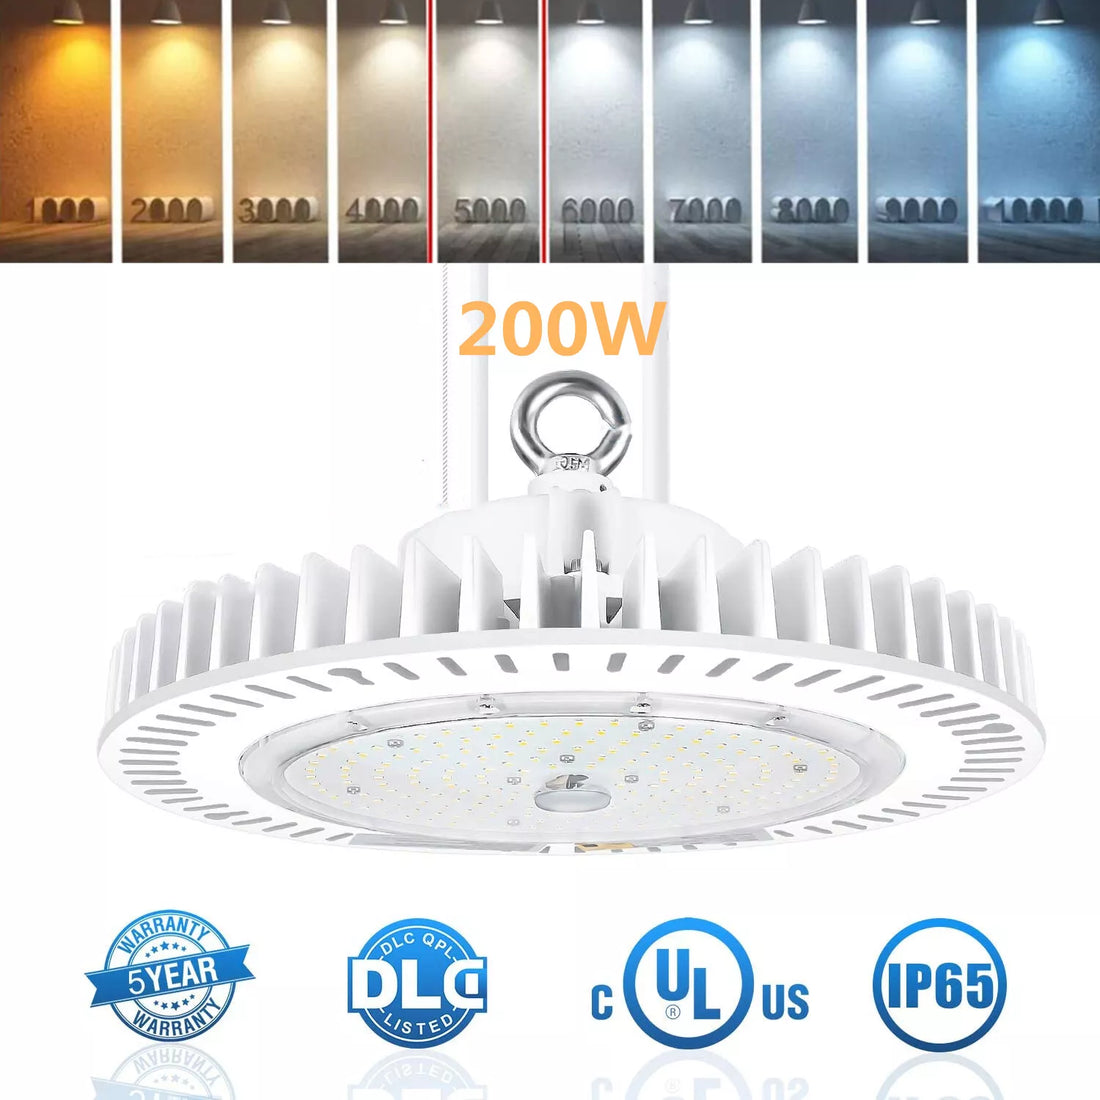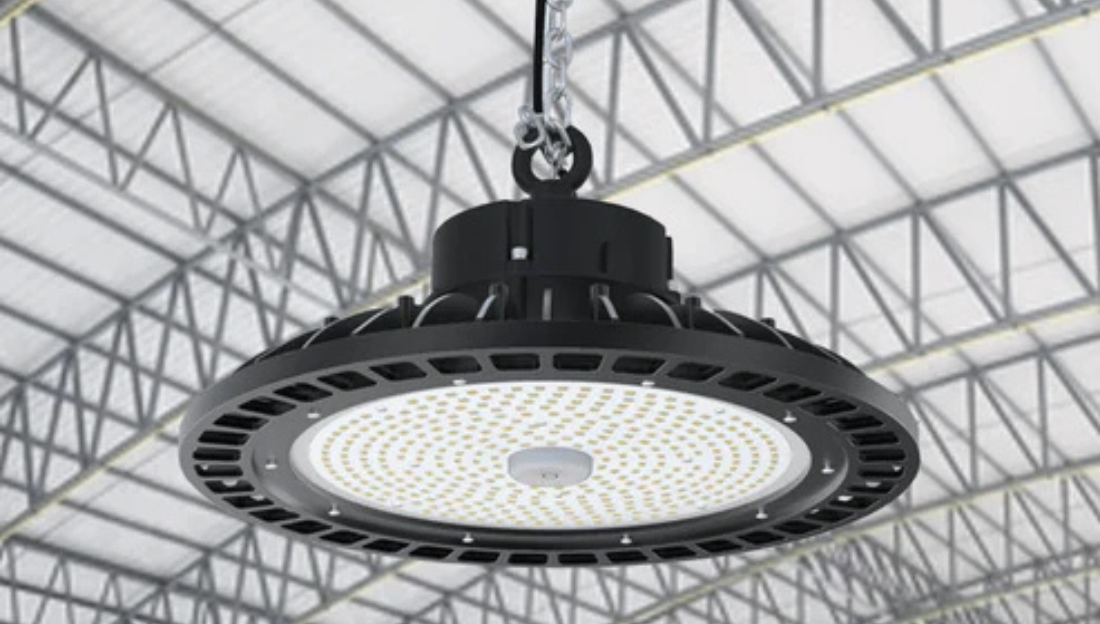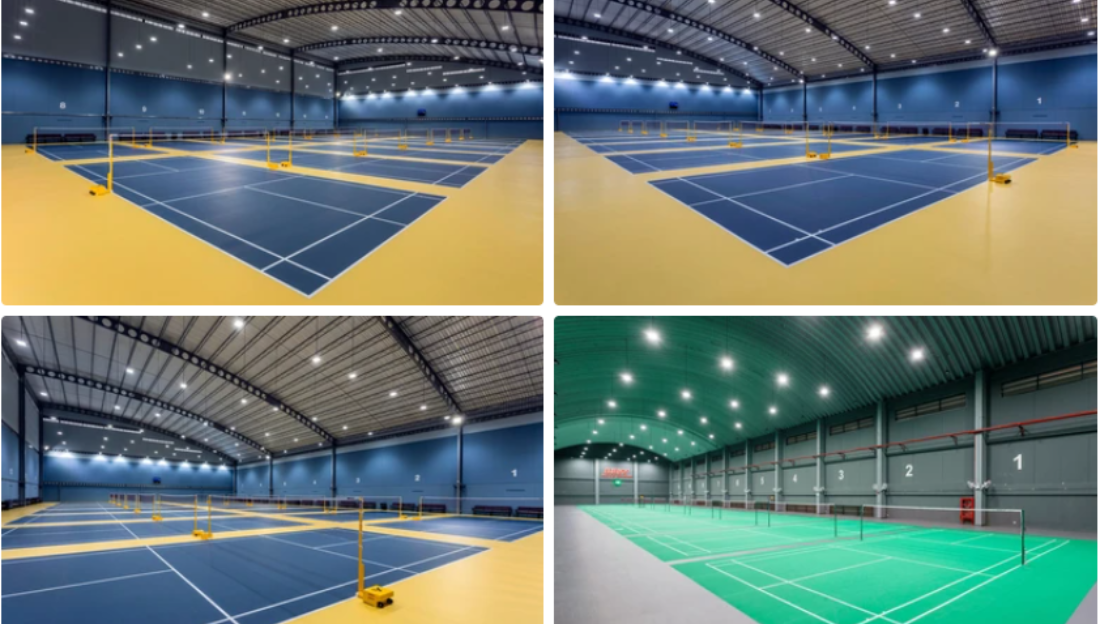

UFO LED high bay lights are a great lighting solution for industrial spaces, warehouses, workshops, and even large retail environments. Their sleek, circular design resembles a UFO, hence the name. These lights are not only energy-efficient but also incredibly bright, making them ideal for illuminating vast spaces. If you’re looking to install these lights, follow this user-friendly guide to get the job done safely and efficiently.
Tools and Materials You’ll Need:
-
UFO LED high bay lights
-
Mounting hooks or brackets (typically included with the lights)
-
Adjustable wrench
-
Ladder or scissor lift
-
Safety harness (for higher installations)
-
Power drill
-
Anchors and screws (if mounting on solid surfaces)
-
Electrical wiring tools (wire strippers, connectors, electrical tape)
-
Voltage tester
Step 1: Plan the Installation
Before you start, determine the number of lights you need and their placement. Consider the following:
-
Ceiling Height: UFO LED high bay lights are ideal for ceilings 15 feet or higher.
-
Spacing: Maintain adequate spacing between lights for even illumination.
-
Power Source: Ensure there is access to a power supply near the installation points.
Step 2: Turn Off Power
Safety first! Switch off the power supply to the area where you’ll be installing the lights. Use a voltage tester to confirm that no current is flowing.
Step 3: Install Mounting Hardware
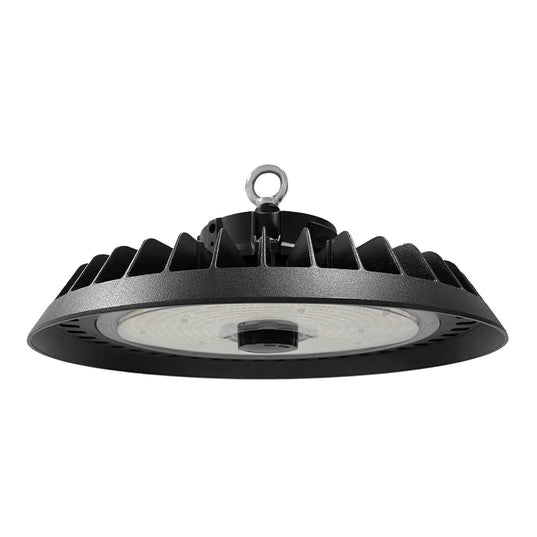
Most UFO LED high bay lights come with a pre-installed hook or bracket.

-
For Hook Mounting:
-
Drill a hole into the ceiling structure.
-
Insert an anchor if needed.
-
Screw in the mounting hook securely.
-
-
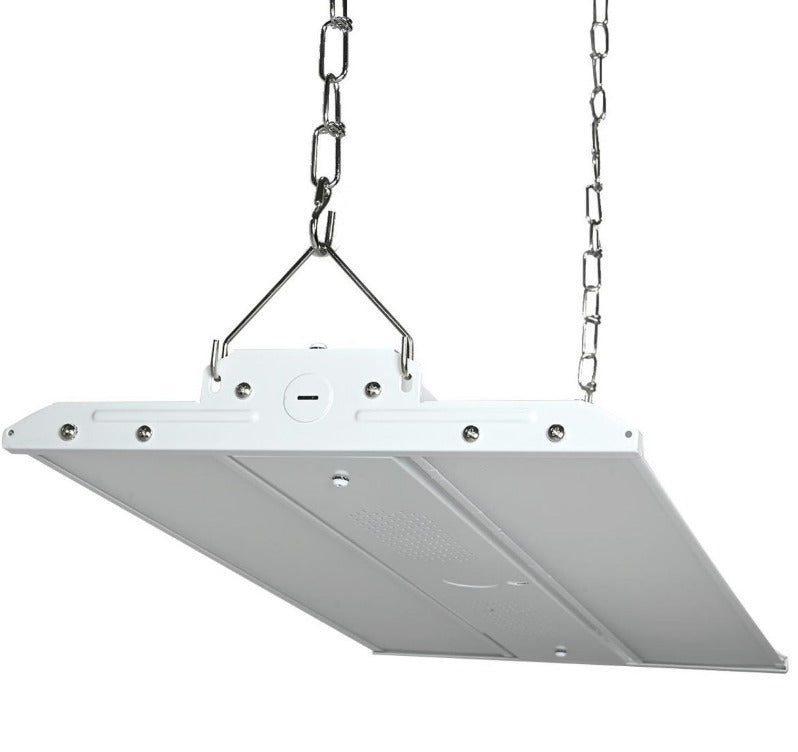
For Bracket Mounting:
-
Attach the bracket to the ceiling using screws and anchors.
-
Ensure it is firmly secured to support the weight of the light.
-
Step 4: Attach the Light
-
Hang the UFO LED light onto the hook or attach it to the bracket.
-
Ensure it is securely fastened to prevent any movement or detachment.
Step 5: Connect the Wiring
-
Locate the power cord of the light.
-
Connect the wires as follows:
-
Black (Live) Wire: Connect to the live wire from the power source.
-
White (Neutral) Wire: Connect to the neutral wire.
-
Green (Ground) Wire: Connect to the ground wire.
-
-
Use wire connectors and secure the connections with electrical tape.
-
Double-check all connections to ensure they are tight and secure.
Step 6: Test the Light
-
Turn the power back on.
-
Switch on the light to test if it works properly.
-
If the light does not turn on, double-check the wiring connections.
Step 7: Final Adjustments
-
Adjust the angle of the light if needed.
-
Ensure all components are securely fastened.
-
Clean up the installation area.
Safety Tips:
-
Always use a ladder or lift that is stable and secure.
-
Wear a safety harness when working at heights.
-
If you are not confident in handling electrical connections, hire a professional electrician.
Conclusion
Hanging UFO LED high bay lights is a straightforward process when done correctly. By following this guide, you can ensure a safe and efficient installation, resulting in bright and even lighting for your space. Enjoy the energy efficiency and brilliance of your new lighting setup!